Saturday, July 16, 2022

Picket Fence Studios July 2022 Release Cards

 Hi friends,

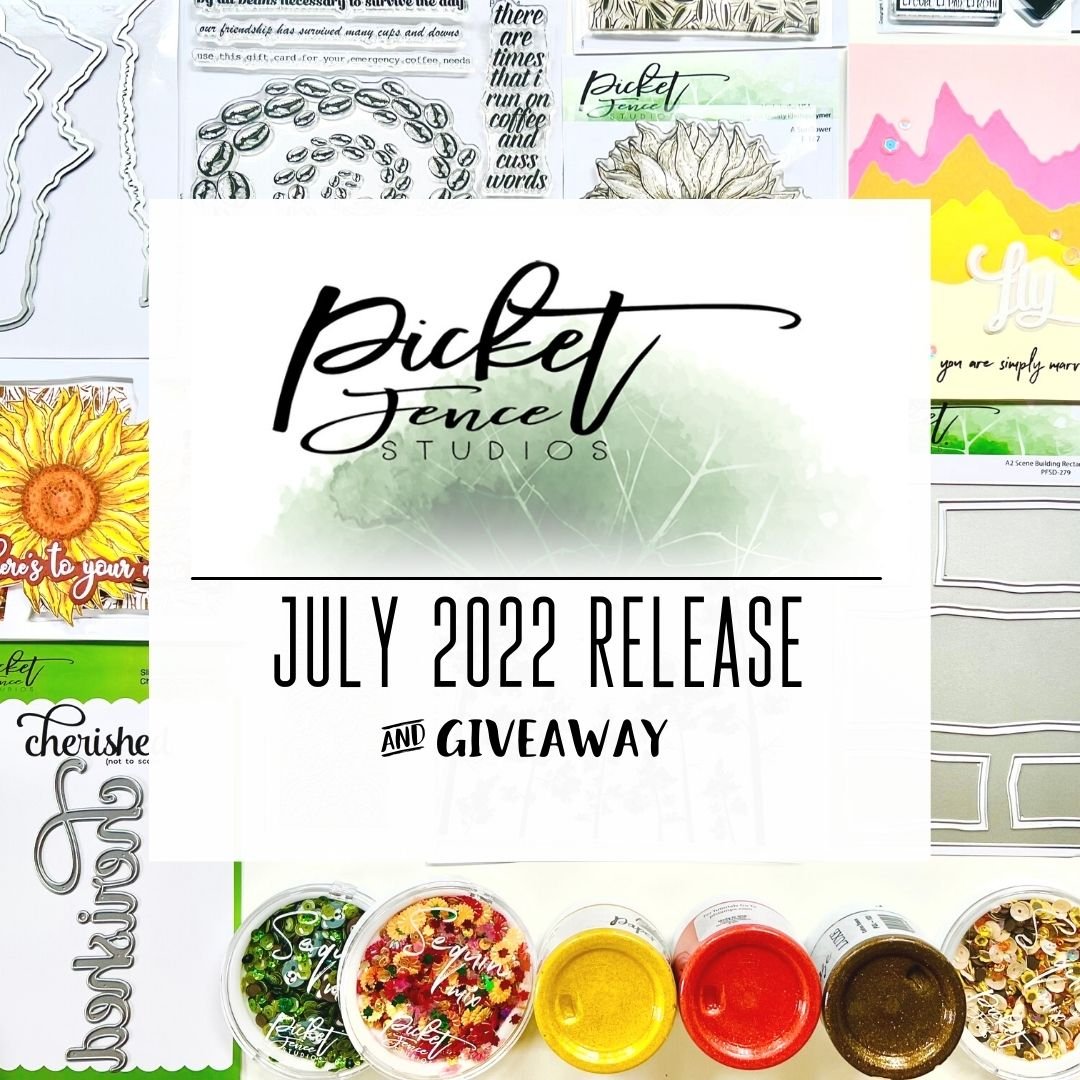
I hope you're having a wonderful weekend. Today, I wanted to share a few cards that I made showcasing Picket Fence Studios July release. If you haven't checked out the release yet, you can do so here. Picket Fence Studios Release 2022. 

The other day, I shared two cards I created using some products for scene building. I know scene building isn't for everybody, but for me, it just makes my heart sing! I love the idea of creating my own one-of-a-kind scene. Here are the two cards that I shared showing how I created my own scene. 

Products used:


Products used:


This card was so much fun to create. I used a few older products along with some new products from Picket Fence Studios. I like how the Lavish Negative Die fits perfectly into the ocean scene. And, of course, the Orange Bottlecap Flower Sequins were perfect for adding as hair accessories. I also like incorporating the moving air stencil in an ocean scene. So fun!

Products used:


And who doesn't love to ink swatch!? I mean, it's so therapeutic in a sense. I try to stay as organized as possible in my craft space; sometimes, everything gets jumbled. I like this ink swatch stamp because it has options to check what type of inks you're swatching and whether you have the full size or cube size. Trying to stay organized in my craft space keeps my heart happy. 

Products Used:


Tell me that you're not obsessed with this card-making technique as I am? I love using the spotlight technique because it's so simple to do. I used the A Sunflower stamp to stamp onto my cardstock with Picket Fence Studios Hybrid Black Ink. Then masked off the sunflowers before I went in with my life-changing blender brushes. 

Products used:


Products used:
White Gel Pen

If you guys have any questions, just leave a comment down below. Until next time!

Have a wonderful day!
Theary Chea

Come visit me on INSTAGRAM and YOUTUBE.

Friday, July 15, 2022

ScrapbookPal's Mystery Grab Bag July 2022-Unboxing & Review

 Hello there!

Today, I am sharing an unboxing review for ScrapbookPal's mystery grab bag for July 2022. If you're anything like me, you're just a sucker for a good mystery bag. And seeing the price at $95, you assume that it will contain some awesome stuff! Right??!

I couldn't help myself and had to purchase one to share with you all. I tried to look for reviews on the web and didn't have any luck. Which was a bummer! Because I like the idea of getting a glimpse at what customers have received in the past. 

So, the grab bag is $95 dollars but, the retail value of the items included is $200. Still pricey for my budget but, like I said earlier. I am a SUCKER when it comes to mystery bags. 

You can view the unboxing video here:


If you're curious about the mystery bag and want to take a closer look at it. You can click on this link here. ScrapbookPal's Mystery Bag

Have a great day!

Theary Chea

Thursday, July 14, 2022

Picket Fence Studios July 2022 Release!

Oh my! It's such a wonderful day! It's release day for Picket Fence Studios! I am excited to share a few cards I created using the July 2022 release. If you haven't had time to check it out, you can do so here JULY 2022 RELEASE


So, let's jump right in! 

If you have already followed me on Instagram and YouTube, you know that I like to create scenes on my card projects. And guys, this release has lots of products to use for just that! 

I created a few cards using various stamps from Picket Fence Studios. And the first two cards that I am sharing today include lots of scene-building. 


I had so much fun creating this card. I used the masking technique to create an almost one layered card. I said "almost" because everything is one-layered except for the sentiment that I layered up and adhered to the front of the card front. I used Copic markers and distress oxide inks to color in the scene. I use The Montage Stencil to create wallpaper for my scene. I felt it fit nicely when paired with the Filled to The Brim set.  I love the Window Seat to The Word set because there are so many different elements on the stamp set that you can use to add so many details to your scene. I am looking forward to using this again in the future. 
 

Products used:

This Rain Will Pass

Tall Christmas Trees Stencil

Okay, okay, this card came out exactly as I envisioned in my head. I love creating this scene using This Rain Will Pass stamp set and the Tall Christmas Tree Stencils. Before coloring in the scene, I did use my favorite masking fuild to paint over the areas that I will color in later. I allowed it time to dry before going in with Copic markers and distress oxide inks. Sure, you can die cut the image out and adhere it to the front of the ink-blended trees but, I like making a one-layered card every now and then. This card is perfect to send to a friend who is in need of a little uplifting.

I am so excited about this release and I can't wait to see what everybody creates with it.  Until next time! 

Have a wonderfully blessed day!

Theary Chea


***Don't forget about the GIVEAWAY!!!***


To enter the June Giveaway, you must:

-Follow the PFS IG account channel.

-Leave a comment on the video release/giveaway post on IG.

Winners will be randomly chosen from comments left on that post.

Winners will be announced on July 20th on an IG post.

Tuesday, July 12, 2022

For My Crafty Friend Shaker Card

Hi There!
Today, I wanted to share a card that I created that was inspired by this beautiful set of envelopes from Ink Blot Shop.  If you guys haven't checked it out yet, you can do so here


The envelope in this set is so pretty! I wanted to create a card where the colors from the envelope were the star of the show. So, I decided to use it as the background of my shaker card. 


I also colored some of the images from the Arts & Crafts Icon stamp set and added that to the shaker card, so it can move around with all the shaker elements.  I used the perfect sentiment from Arts & Crafts Sentiment set and I heat embossed in white onto a heat-resistant acetate sheet before adhering it to the back of several layers of frame dies. 

Thank you so much for stopping by, and don't forget to visit me on INSTAGRAM and YOUTUBE.

Have a wonderfully blessed day!
Theary Chea


Saturday, July 9, 2022

Create Your Own Pattern Paper With Stamps!

Hello there friends,

Have you ever wondered what to do with the smaller stamp images from a stamp set? Today, I am sharing a fun technique to incorporate the smaller stamps. Let's dive right in!

This isn't a technique per se; it's more of a way to stretch out your supplies. How about creating a one-of-a-kind pattern paper? I like doing this with my smaller stamps because it makes a uniquely designed card front.

The stamp set I used for this card is from PhotoPlay Paper-Say it With Stamps collection. This adorable stamp set is called, Cute as A Bug. And it is stinkin' cute! 

I used most of the bugs in the set and stamped that out using an alcohol-marker-friendly ink. I also used an alcohol-marker-friendly cardstock. My favorite cardstock to use with alcohol markers is from Say it With Stamps. The paper is super smooth, which makes blending ink so easy!


The whole part of this technique is to have fun with your stamps. You can pretty much place the stamp anywhere on your card front. I like to keep the images closer together and making sure that I don't stamp the same image down right next to each other. Then, I went in and colored it all with my favorite alcohol markers. 


To create a little more interest in the card front, I used my blender brush to blend a light shade of gray ink onto the 3-stripes stencil from Say it With Stamps. Then, I stamped the sentiment from the Good Vibes Only stamp set onto a strip of vellum and adhered it to the card front. 

And that's it! I adhered it to a top folding card base and added some embellishments from Studio Katia. You can view a short clip of the process over on my Instagram account.  

Until next time! I hope you have a wonderfully blessed day!

Theary Chea


INSTAGRAM

YOUTUBE

Thursday, July 7, 2022

Picket Fence Studios & The Ink Stand Instagram Hop and Giveaway!!!

Hi friends!

I am excited to participate in an Instagram Hop with Picket Fence Studios and The Ink Stand. 


The Ink Stand was made to keep the ink on your project and off of your fingers. With various sizes and shapes available to fit all of your ink pads. 


If you follow me on Instagram, you can see that my attempts to craft and nurse my daughter simultaneously are usually a fail. But, I can honestly say that blending inks on my project with the help of the ink stand was absolutely doable! 

Here is the card that I created for the collaboration hop. I used the beautiful 'A Hummingbird's Song' stamp as the focal point of my card by heat-embossing it with white embossing powder. I then went in, and ink blended shades of yellow and red to the cardstock. 


I later went in with a few great stencils and ink blended some more inks to give the card front more interest. I then stamped a few petite butterflies from the 'Baby Butterfly Beauties' stamp in beige ink. And, the best part! I used the Hexagon Randomness Stencil to randomly apply Paper Glitz in the color black rainbow on the card panel. This gave the card so much added dimension and shine! I am just in love with this stuff!

To finish off the card, I heat embossed the sentiments from the 'Baby Butterfly Beauties' set and adhered them to the front of the card.

And that's it! If you want more details about the HOP and the GIVEAWAY, you can check out the post here on my Instagram account

Saturday, July 2, 2022

You're The Greatest Dad!

 Hi friends,

Today's card was inspired by my father. It will be his 67th birthday this coming Tuesday and this was made especially for him.

I am so thankful to still have him around to be in my life and my children's life. It is such a blessing and I hold on to it ever so dearly. 

I decided to go with a no-line coloring technique as I wanted to create a softness to the card. For this card, I used alcohol markers but you can use anything that you have on hand. There's also a great stencil for easy coloring available as well. 

The stamp set is from Photo Play Paper - Say It With Stamps collection. I will have everything listed and linked down below if you're interested in checking it out. 


For the starry background, I used a blending brush to ink blend a night scene.  I then used Gina K. Designs Glitter Glitz from Thermo-Web and applied that over The Shooting Star stencil from Say It With Stamps. I also went in with white paint and splattered that throughout the background scene. 


I used the Scalloped Frames Die to create some interest on the card front and adhered it to red polka dot pattern paper and adhered that onto a side folding card base. 

I hope you have a wonderfully blessed day!
Theary Chea

Don't forget to visit me on 

Products used:


Gladiola Blossom and Leaves Featuring Memory Box

 Hello there, It's Theary here. I'm back on the blog. Today, I want to share a card I created for a dear friend using the beautiful ...