Monday, April 15, 2024

Gladiola Blossom and Leaves Featuring Memory Box

 Hello there, It's Theary here. I'm back on the blog. Today, I want to share a card I created for a dear friend using the beautiful Gladiola Blossom and Leaves dies. 

IMG_9957

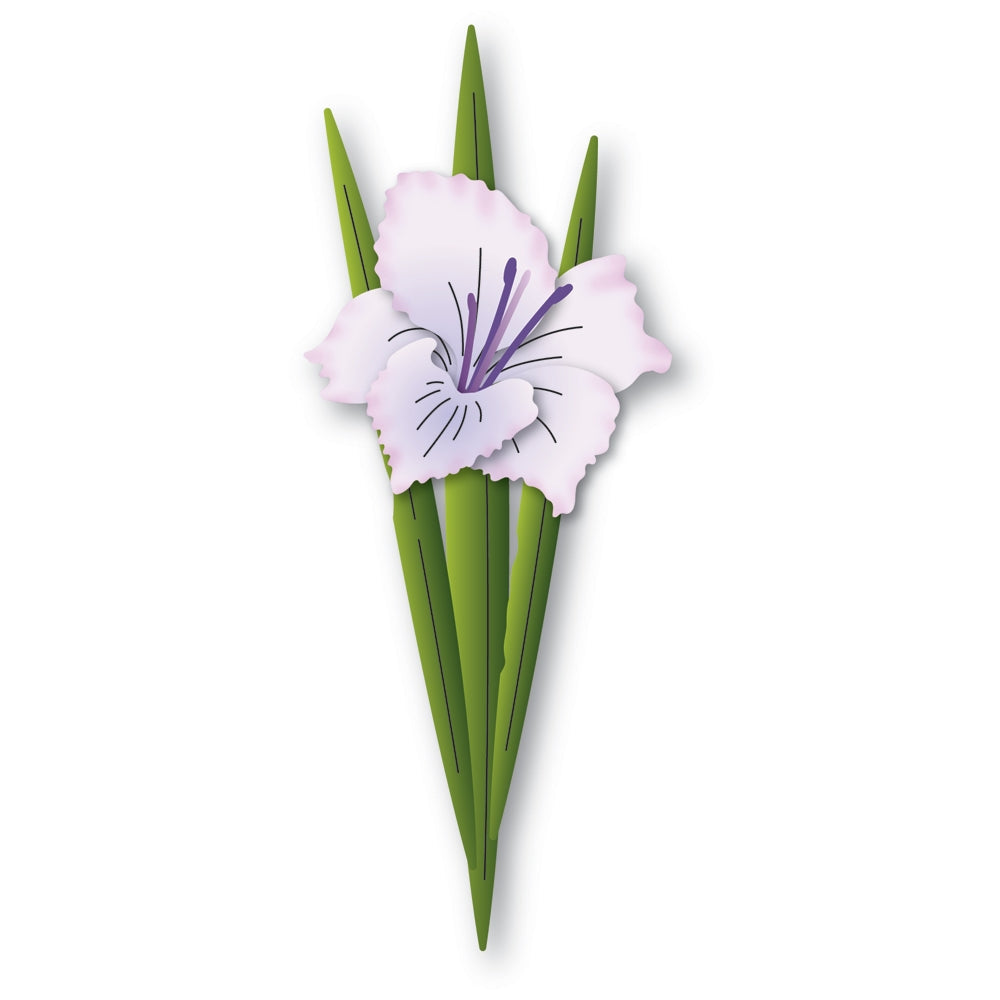
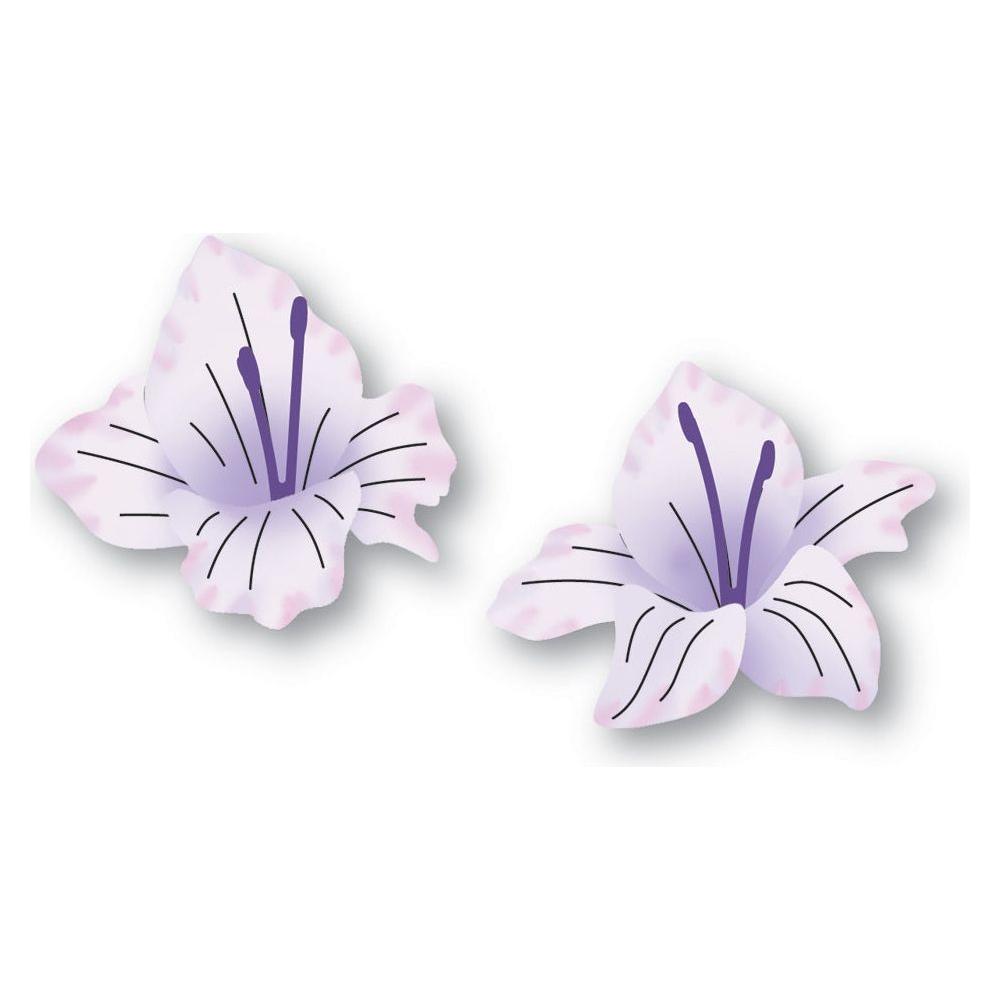
I die-cut 94795 Gladiola Blossom and Leaves and 94793 Gladiola Floral Duo using blue and green cardstock. I then blended inks in blue, green, and purple to the die-cut pieces' edges. 

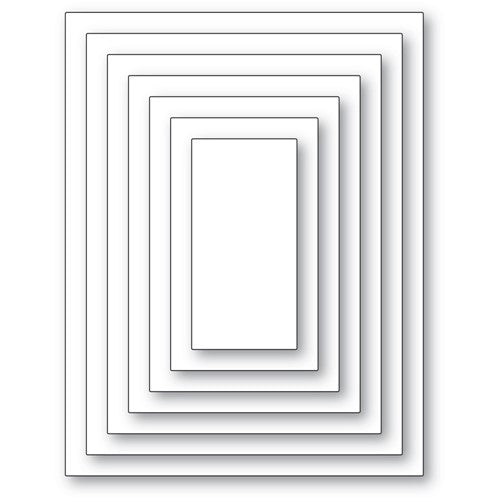
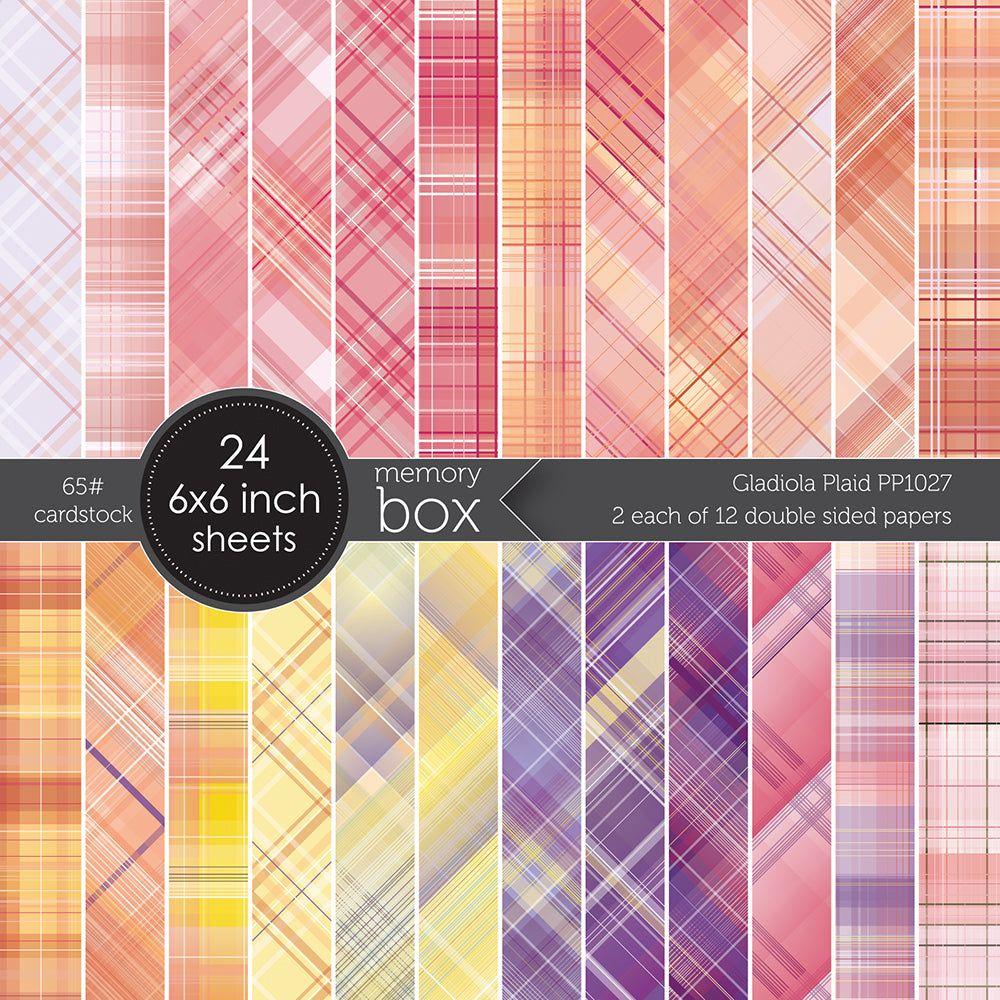
Then, using 94672 A2 Rectangle Frames Die Set, I cut a piece of white colored cardstock and adhered it to a sheet of patterned paper from PP1027 Gladiola Plaid 6x6 pack that I trimmed down to 4.25 by 5.50 inches. 

IMG_9965

I adhered the Gladiola Blossom and Leaves onto the bottom portion of the card panel using liquid adhesive and foam squares.  

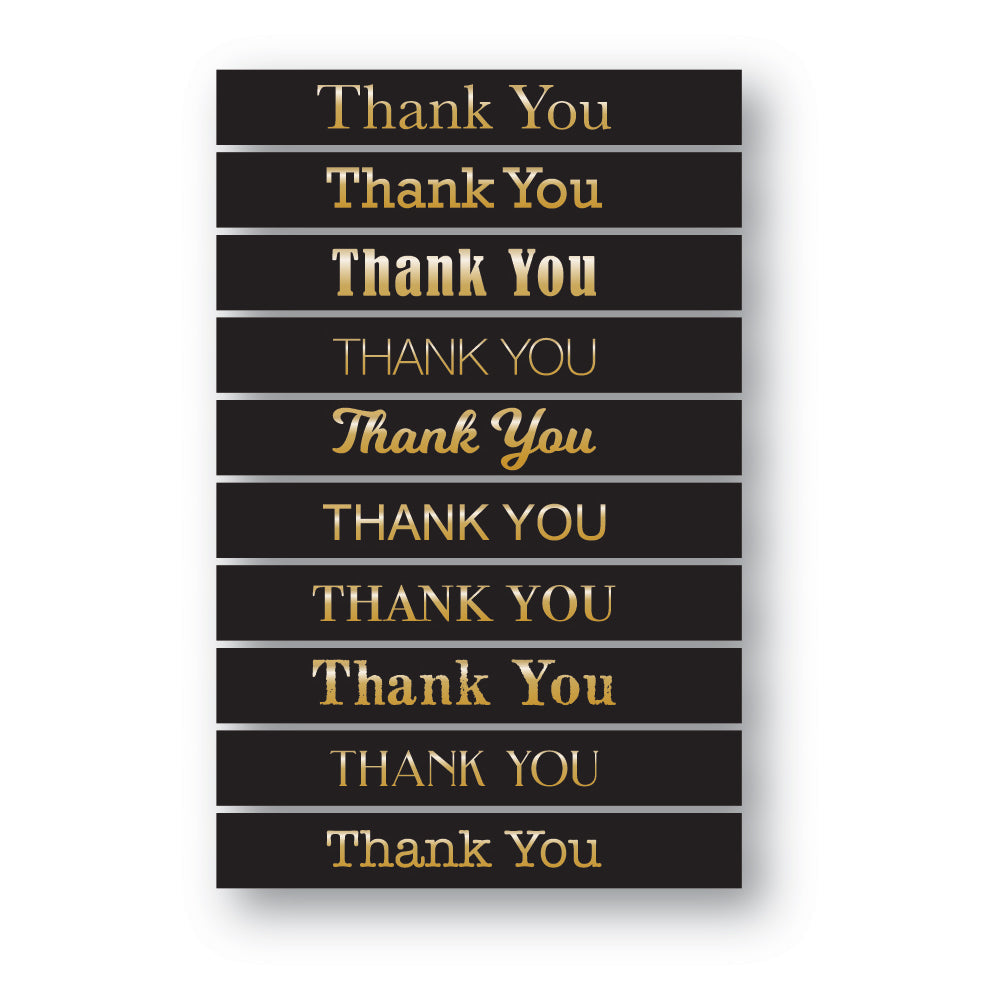
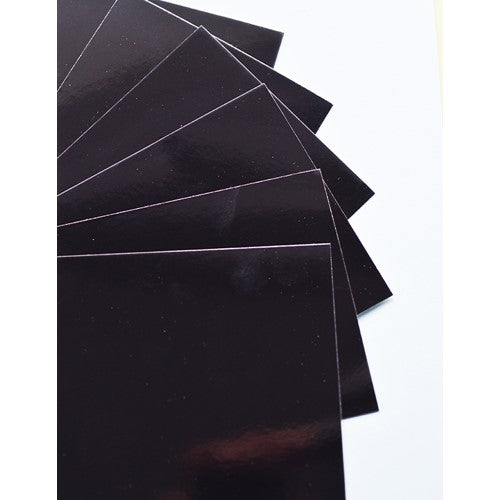
For the sentiment, I love using ST005 Thank You Foil Greetings Black Tabs for an easy add-on. I also added 94659 Friend Daily Script that I die-cut out of SH44004 Glossy Black Paper. 

I used a white gel pen throughout the card panel to give it extra highlights and details. 

IMG_9963

To finish, I popped it onto a top folding card base and added Gem102 Winter Fantasy Fairy Gemstones. 

And that is it! I hope you found some inspiration and get crafty in your craft space. Until next time!!

Have a wonderful day,

Theary Chea

Come visit me on: 
INSTAGRAM:

YOUTUBE: 


Want to find the products I used? I have listed them below. (Compensated affiliate links used at no cost to you. Thank you for your support!) Click on the icons below each product picture to go to a favorite store.
Memory Box Gladiola Floral Duo
Shop at:
SSS
Memory Box Gladiola Blossom and Leaves
Shop at:
SSS
Memory Box Thank You Foil Greetings Black Tabs
Shop at:
SSS
Memory Box A2 Rectangle Frames Die Set
Shop at:
SSS
Memory Box Black Glossy Paper
Shop at:
SSS
Memory Box Friend Daily Script
Shop at:
SSS
Memory Box Gladiola Plaid 6x6 Pack
Shop at:
SSS

Monday, July 17, 2023

Just Beacause Featuring Memory Box Co.

 Hello there! Welcome back to the blog! My name is Theary, and I am sharing a super easy card I created using some products from the Memory Box Co. Gracious Floral collection.

If you're not big on coloring, this is perfect! It is easier than coloring because all the work is done with inks and layering stencils with coordinating stamps and dies.

I began by stamping out the Gracious Floral CL5280 onto white-colored cardstock. Then, using several colors of distress oxide inks with a blending brush, I inked each layered stencil individually.

I used Gracious Floral Dies CL5280D along with the Gracious Floral 3D Embossing folder EF1026 to give the image more dimension and ran that through my die-cutting machine. I love how much interest this gives to the blended florals.

I adhered it onto a background I created using Marvelous Magnolia 3D Embossing Folder and Cutting Dies EF1035.

The sentiment was also from Gracious Floral, which I stamped out in brown colored ink and adhered to the panel.

I hope you found some inspiration! And I hope to see you next time.

Have a wonderfully blessed day,
Theary Chea

Wednesday, July 5, 2023

Sea You Soon ft. Trinity Stamps

Hello, thank you so much for joining me. Today, I want to share a one-layered card I created using some fantastic products from Trinity Stamps. 

I started with a fresh cardstock panel that I trimmed down to 4.25" by 5.50". I like using alcohol-friendly cardstock such as Neenah Solar White because it's very smooth, which makes Copic coloring a breeze. When creating a one-layered card, I want to map out the placement of the selected stamps before I stamp it on the main card panel. Doing this will give me a better visual of the exact placement. 

Going in with the adorable Sea You Soon stamp from Trinity Stamps; I stamped the image first on my card panel using alcohol-friendly ink. My favorite is Memento because it's fast drying and doesn't smear. I also stamped that same image onto masking paper. This adorable image will be the primary image in my foreground. So, when using the masking technique, everything that's stamped will look like it's in the background. 

After placing the masking paper over the mermaid, I started stamping all the other images. I did the same thing and masked each image with masking paper. I then went in with Trinity Stamp-Moon Layers stencil and added that onto the upper right-hand corner. I love how easy this is to create a realistic moon. It took less than 3 minutes!

Now that everything is masked off, I went in with the amazing Blending Buddy from Trinity Stamps and inked blend a background scene in the open areas. I like using these brushes because they fit comfortably in the hands and blend ink onto cardstock like a dream! 

I sprayed a sparkle spray over the sea to add some shimmer and shine. As well as added a few stamped images using the Sea Life Silhouettes stamp set from Trinity Stamps. 

I used Trinity Stamps-October Night Sky stencil to create the clouds in the scene. I know this is a Halloween-themed stencil, but I like to stretch out my supplies and get the most out of it all. 

After removing the masking paper, I used Copic markers to color all the opened images. I then added white paint to give the sea some life and texture. The sentiment was heat embossed using WOW! Embossing Powder in the color Opaque Bright White. 

And that is it! I hope you enjoyed the card, and I hope to see you next time! Please visit me on YouTube and Instagram, where I share videos, cards, and reels. 

Have a wonderfully blessed day!

Theary Chea 

CHECK OUT THE SHORT REEL HERE

Monday, June 5, 2023

Hugs With Backyard Wren From Memory Box Co.

Hello again! 

It's Theary here, and I am so happy to be on the blog again. Today, I want to share a card I created using the amazing Backyard Wren die from the Memory Box's Magnolia Collection

I died cut the Backyard Wren out of white colored cardstock and used my blending brushes with Catherine Pooler Inks in the shades Rouge, Orange Peel, and Buttercream. I adhered all of the pieces together with liquid adhesive and foam squares. Using Autumn Fairy Jewels, I added a black jewel for the wren's eye. I also cut Curved Magnolia Branch out of white cardstock and inked blended that using my blending brushes and distress oxide inks. 

Using a kraft-colored cardstock, I embossed the beautiful 3D 3mbossing folder called Magnolia Blooms and ran a white ink pad over the raised edges of the embossed area. I cut Curved Cap Pinpoint Layers out of the gorgeous Magnolia Plaid Paper Pad and placed that in the center of the kraft cardstock. 

I then assembled the Backyard Wren, Curved Magnolia Branches, and the sentiment Hugs Tender Script on the card front. 

And that completes the card! I hope you found some inspiration and got crafty in your craft room. Until next time!

Have a wonderfully blessed day!

Theary Chea 

INSTAGRAM | YOUTUBE 

Thursday, May 4, 2023

Sending Love with Magnolia Blossoms from Memory Box Co.

Hello there! Today, I am sharing a card I created using fantastic products from the Magnolia collection by Memory Box Co.

I started by die-cutting Magnolia Leaf Branch and Magnolia Blossom Trio from white-colored card stocks. I then used distress oxide inks in the colors: Worn Lipstick, Spun Sugar, Picked Raspberry, Rustic Wilderness, and Twisted Citron and blended that onto the die-cut pieces using a blending brush. I also went in with a few colored pencils to create more interest in the die-cut pieces.

I used Magnolia Blooms 3D Embossing Folder and Cutting Dies to create the background and embossed that onto Woodgrain Paper in the color cream. I also trimmed it down to 4 inches by 5.25 inches. I love how the embossed image looks with the woodgrain paper. It gives a subtle interest to the entire card design.

I adhered everything onto the front of the card panel using a mixture of liquid adhesive and foam squares. And for the sentiment, I used Sending Love Daily Script and cut that out of glossy black paper for a lovely glossy finish. I also layered the shadow die cut three times for some added dimension. 

Sunday, February 19, 2023

Honey Bee Stamps- Lovely Layering Pansy

Hello there! 

This card was absolutely fun to put together. I know layering dies can get intimidating to some, as there are so many different pieces, but the layering dies from Honey Bee Stamps are pretty simple to put together. 


I cut the Honey Bee Stamps- Lovely Layering Pansy pieces out of colored cardstock and ink-blended the edges with inks from Catherine Pooler Designs


For the background, I used the Honey Bee Stamps-Barn Wood DiesBarn Wood Dies to create a wood-like texture. 


And for the sentiment is from Honey Bee Stamps- You're A Keeper stamp set. I mounted everything onto the card front using liquid adhesive and foam squares. 

You can watch the full tutorial here:

And please don't forget to visit me on INSTAGRAM or YOUTUBE

Have a wonderfully blessed day,
Theary Chea


Tuesday, February 14, 2023

Picket Fence Studio's Feb 2023 Release with Five Inspirational Cards!!!


Hello there!
It's officially release day for Picket Fence Studios!! Yay! If you haven't had a chance to check out the release, you can do so here: PICKET FENCE STUDIOS FEB RELEASE 2023

I have five inspirational cards ready for you to take a peek at today. I have listed all the products used underneath the photos. Please don't forget to visit me on YOUTUBE and INSTAGRAM for full-process videos and more inspiration.

Until next time,
Theary Chea XOXO


Supplies:

·         A2 Against the grain cover plate die

·         Ocean view slim line die cutting system insert

·         Done adulting for the day


Supplies:

·         Fancy life events sentiments

·         2.5” connected circles shaker creator die

·         A whole lot of polka dots stencil

·         Let's be quakers

·         Chicks in grass- sequins


Supplies

·         Animal crackers caring friends


Supplies

·         Pretty flower box and window dies

·         Animal cracker-you deserve to be spoiled

·         Fancy life events sentiments

·         Hop embellishments

·         A2 pierced blanket cover plate die


Supplies:

·         Peter bunny and friends

·         Fill to the brim

·         Easter egg time


Gladiola Blossom and Leaves Featuring Memory Box

 Hello there, It's Theary here. I'm back on the blog. Today, I want to share a card I created for a dear friend using the beautiful ...